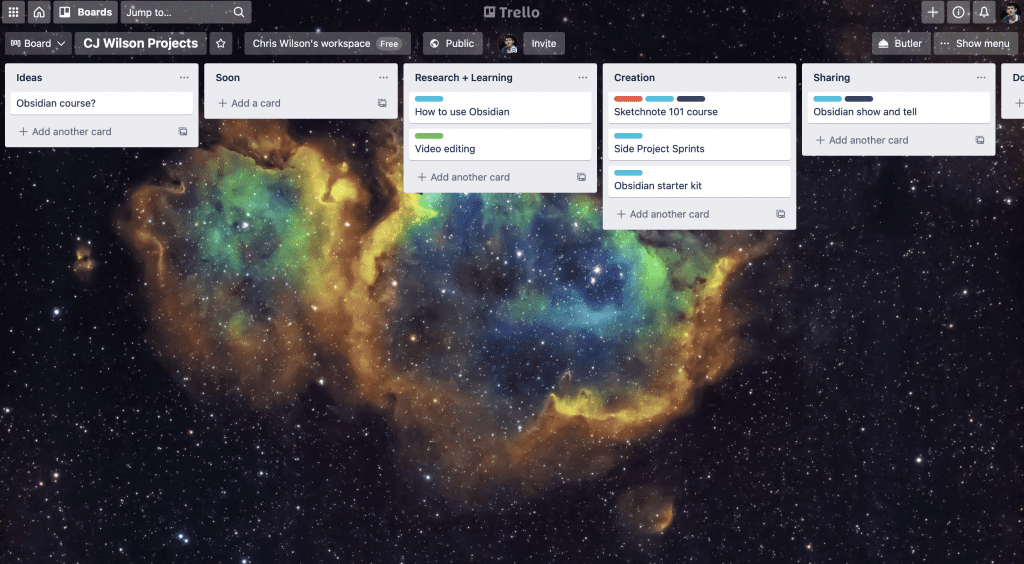
I was taken by David Spark’s idea of a personal status board to keep track of projects across different themes. As a communications manager, I use Trello to help our team keep track of our projects and assets as well as ease communications. So I decided to use Trello for my own status board (although I’m curious about other options).

What is a personal status board and why is it useful?
A personal status board provides a view of the major projects you have going on at a time. With it, you can see a high-level overview of what you have on your plate and the interesting potential projects you’d like to take on.
If you have lots of small projects on the go at once, coming back to your personal status board can help ground you, remind you of a project you’ve forgotten about and reassure you that everything is under control.
Why use Trello for a status board

Trello is a cloud based board project management app designed for group. These same features make it great for personal use.
The kanban approach is great for tracking what is coming up, what is in progress and what you need to be promoting. With labels, you can mark projects depending on the area of life they apply to. And because it’s a cloud app, it works on any OS and even has great mobile apps.
Are there other options?
Yes, you could use something like Todoist as it too offers boards. In theory, this might be superior as you could have all your task and projects in one view. At the same time, a task is not a project and so you might need to enter your projects as a task on a separate list. At this point, using another app like Trello is no different.
Notion is another great candidate with its all in one view including boards and timelines. While Notion has not worked for me, if you like Notion I believe it would be the best choice for you.
How to create your own personal status board
Identify your stages

While not every project follows a set flow, there are some common stages that you’ll notice across all your projects. These are useful to track the stage of everything you are working on.
These may be different for you depending on your work and life but try to include stages that include both work and home.
Here are mine for your inspiration
- idea, (just an idea, no commitment)
- upcoming, (something that I want/am planning to start soon)
- creating, (something I’m actively working on)
- waiting, (something I’m waiting till I can continue)
- promoting. (Creation has finished, it’s time to share)
These will become “lists” in Trello.
Define areas of life

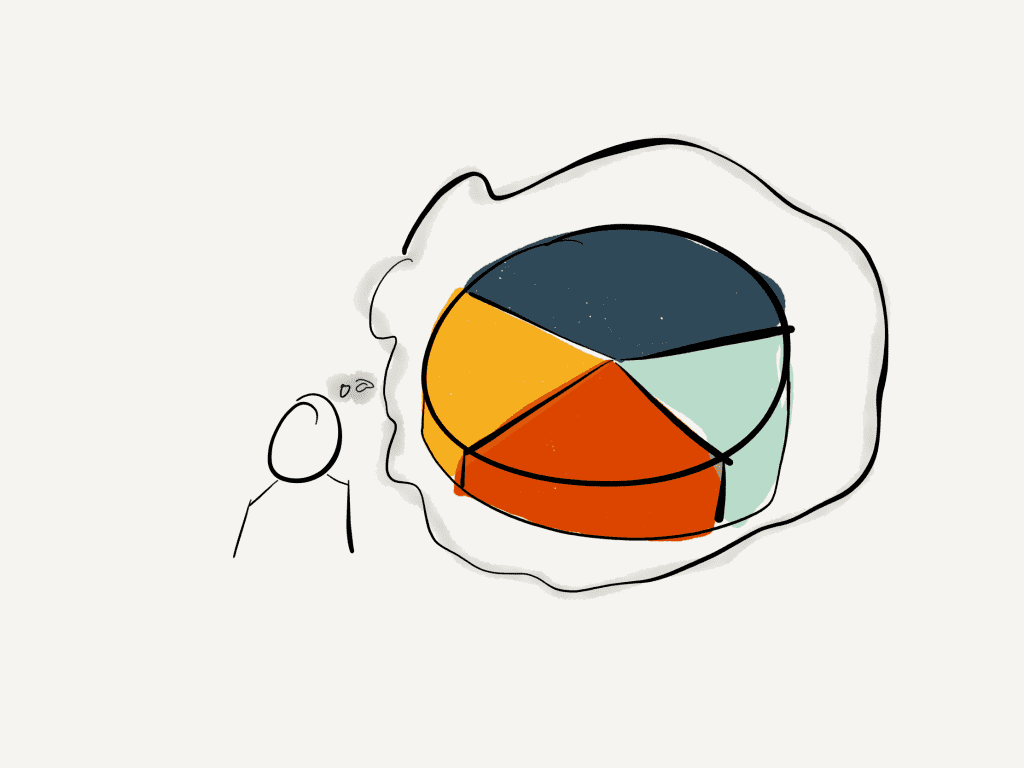
With your stages in order, you may want to define some areas of life so that you can see if one part of your life is occupying more of your time than another (or if someone this missing). Some examples might be
- Work
- [Side project name] – i.e. blog / Sketchnote classroom
- Home
- Writing / Video (or other creative action)
- [Company name] – especially for freelancers
Using Trello labels means you can apply multiple links.
Create your board
With your stages and areas prepared, it’s time to create your status board on Trello.
Head over to Trello (sign up if you haven’t already) and create a new board.
Add your stages as lists, and turn your areas into labels (you may want to match colours to them).
Add projects
With your board prepared, the only thing left is to start adding projects to your board.
Make a card, give it a name and attach a label. If you keep your board private, you can add items like links to your task manager or documents that you are working on. This can help you quickly switch content.
You may want to add a suitable image to help identify the project from a glance. Alliteratively, keeping the card simple helps view more at once.
View my personal status board.
Head over to Trello to see my current personal status board and the projects I’m working on.
If you’ve made your own, I’d love to see it in the comments.

Leave a Reply